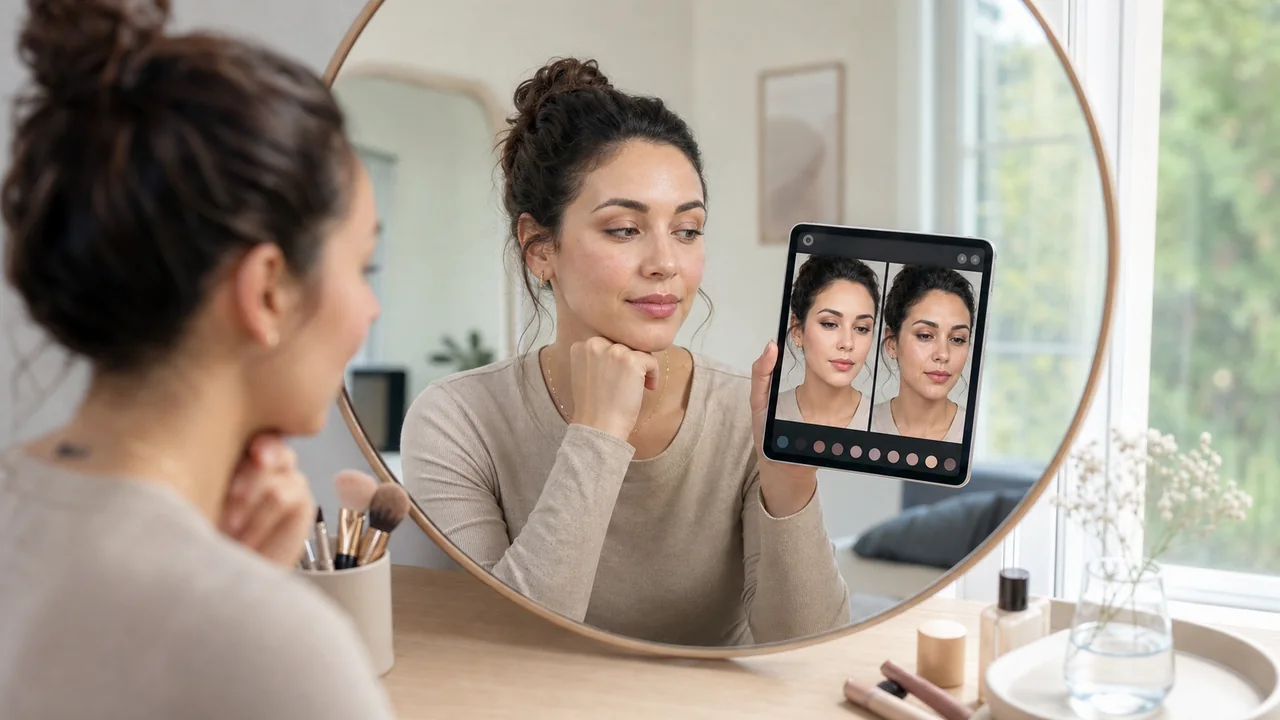
A look that feels strong in the mirror can look balanced on camera. A look that feels natural in person can disappear in photos. The right choice depends on where the result will be judged.
Cameras flatten contrast
Photos often reduce the depth that makes features clear in real life. Brows, lashes, lip edges, and cheek placement may need slightly more definition for the camera.
Shine changes quickly
Healthy glow can become glare under flash or strong daylight. Keep glow on controlled high points and reduce shine in the center of the face when photos matter.
Real life rewards softer edges
At close distance, harsh contour or heavy powder can read as makeup texture. Blend transitions more carefully for events where people see you in person.
Test before the event
Take one photo in window light, one in indoor light, and one with flash if needed. Compare whether the same makeup still supports your intended mood.
Adjust one element
If the face looks flat, add brow or lash definition first. If it looks oily, reduce central shine. If the lip disappears, increase lip contrast before changing everything.
Use context as the standard
No makeup is universally photo-ready and close-up perfect. Choose the version that serves the most important viewing condition.
Decide which audience matters most
The same makeup cannot optimize every viewing distance. Decide whether the main audience is a camera, a close conversation, a stage, or a mix of all three. Then adjust contrast and shine around that priority.
Run a lighting rehearsal
Take three photos: window light, indoor overhead light, and flash if relevant. You are not looking for perfection; you are looking for the version that fails least across the lights you will actually face.
- If the face looks flat, add structure before adding more shine.
- If texture looks heavy, reduce powder and foundation amount.
- If color disappears, strengthen lips or cheeks, not every feature at once.
For event planning, use this with the wedding guest makeup plan. For AI previews, start from a controlled baseline photo so the camera comparison is fair.